


The Best Guide for Design Thinking
In the previous post “EIT Health Innovation Day“, I touched on what “Design Thinking” is and how it was applied to work on the EIT Health challenges.
Just recently, I had an opportunity to demonstrate the procedure of this methodology. So, I needed to review it in order to explain how we would be able to generate new ideas with this method.
I have attended several Design Thinking events and have been provided explanations of the methodology. Based on my experience, the best guideline (explanation) was EIT Health Innovation Day 2016’s YouTube videos.
Unfortunately, I am not sure if I can share the links since the videos are unlisted on YouTube. So, I made a script based on the explanation offered in the videos.
I hope this will help you understand how you should implement the procedure.
Sponsored Link
What is Design Thinking?
https://www.youtube.com/watch?v=M66ZU2PCIcM
This is the most famous video depicting what Design Thinking is.
As a tool for innovation, Design Thinking is a
It is important to be visual and sketching & prototyping as tools to communicate and develop your ideas. Today, we will try to address a challenge that is a societal problem. Your user is a group of people with a connection to your challenge. You need to understand your user in order to create a good solution for them.
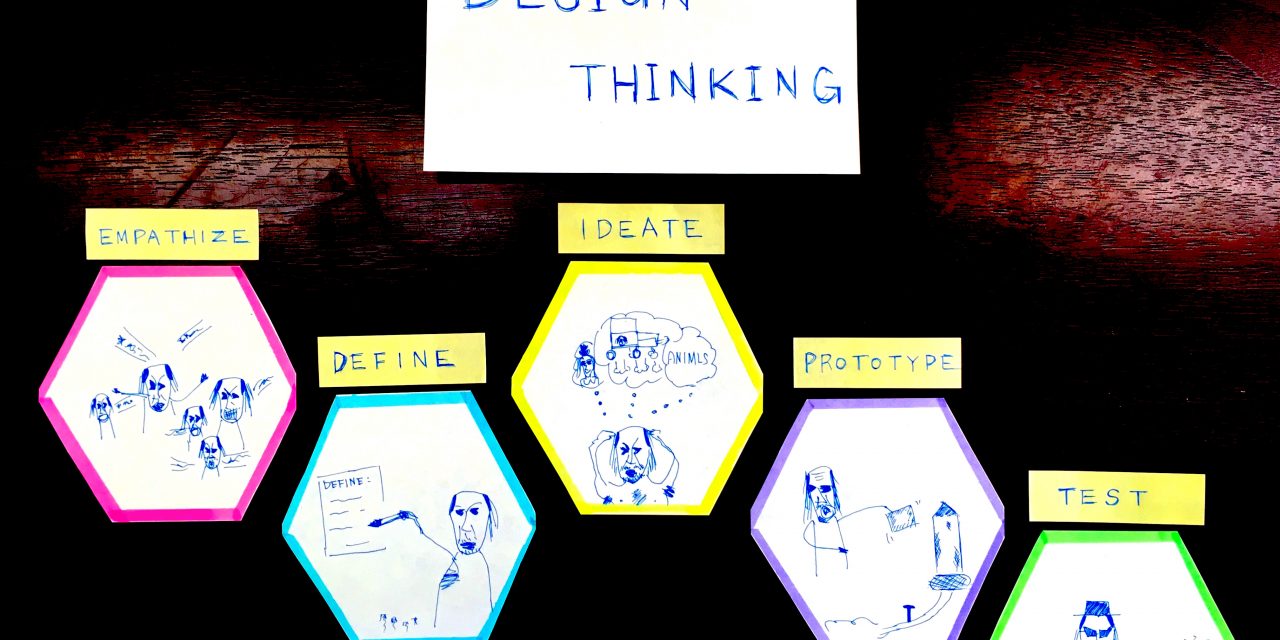
Design Thinks is usually described as having 5 phases, Empathize, Define, Ideate, Prototype
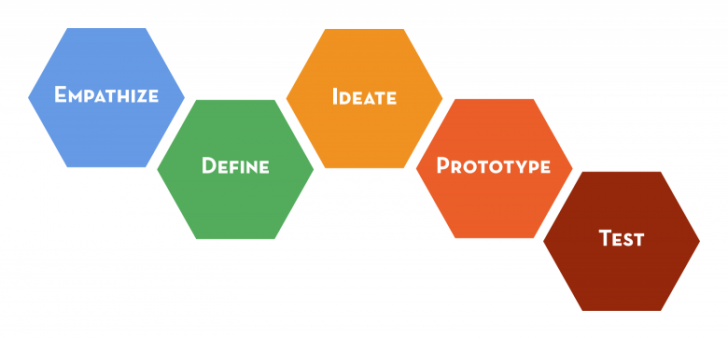
First, you gather information about the challenge and your users. Then, you analyze your new understandings for insights about the user in order to brainstorm ideas and solutions.
You develop your ideas, prototyping them, testing them, and iterating the Design Thinking process to improve the ideas and make user-centered solutions.
This might seem like a lot, but don’t worry. We will take you through this step-by-step. Enjoy!
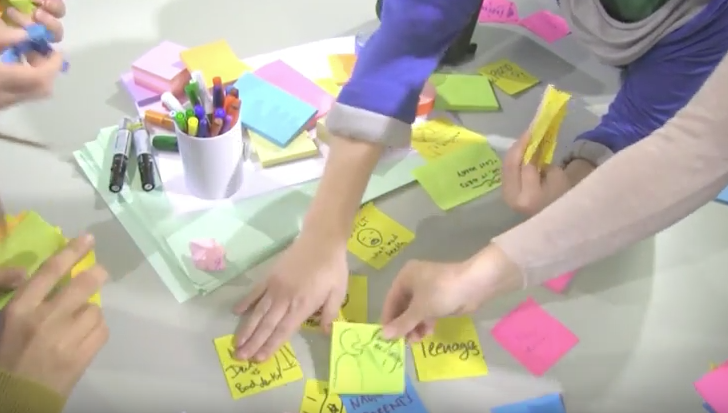
1. Exercise Team Knowledge “Saturate & Cluster”
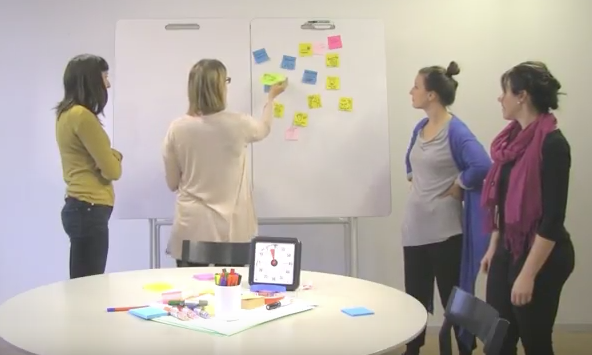
Let’s get started. You have your challenge, your user
This is the moment to find out on your own. Think about everything that comes to your mind about the challenge and the user, definitions of words, images, thoughts or specific knowledge.
Drop them down on different post-it notes. Then, share your thoughts with the others one at a time. Now, try to group the post-its according to the common topics or themes. Try to name these groups.
“Saturate & Cluster” is important to ensure your whole team is on the same level. This step identifies the existing knowledge in the team and the knowledge gaps.
It also helps your team find what the most interesting or compelling within the challenge is.
2. Empathy & Interviewing
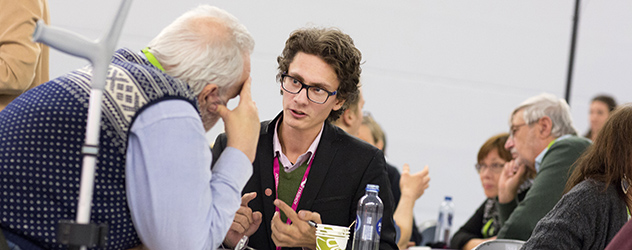
OK, now you are ready to start digging deeper into the challenge. The “Empathy” phase is about understanding and empathizing with the people you are designing for your users.
You can do this by interviewing your users to collect stories or by observing them or by immersing yourself in their experience.
The purpose of this phase is to try to remove any biases, assumptions or misconceptions you carry with you about your user.
This is done by gathering as much information as possible about your user to understand their behaviors, values, feelings and basic needs.
An example of a user need can be a need to feel included or a need to feel safe.
Today, we will try out interviewing as a way to empathize. Here are some techniques to think about while interviewing.
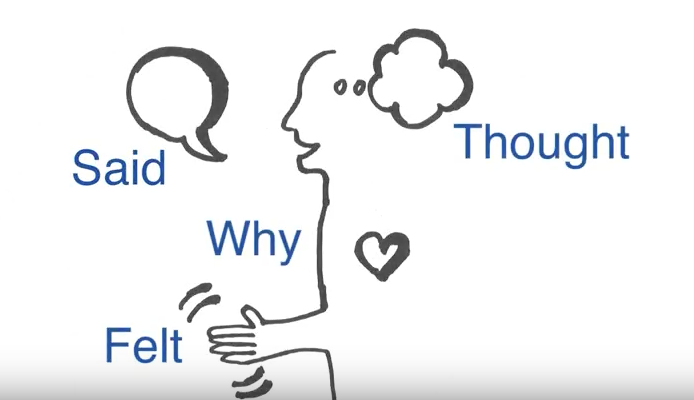
Encourage stories and ask “why” and follow-up questions. Don’t ask “yes” or “no” questions, but rather questions to start with how do you feel about or describe a specific time when letting the person you are interviewing jump into fill silences.
Listen carefully, but also look for nonverbal cues such as what they are doing with their hands. Write down interesting quotes, pay attention to how the answers differ from what you might expect or notice. Notice feelings, behaviors, values
Now, let’s distribute interviewing roles within your team. Who is interviewing? Who is taking notes? Divide yourselves so that you can do several interviews at the same time.
Use your prep to interview guide to plan your interviews and see how and where to find a user to interview.
3. Define
You have collected a lot of information. Now, let’s use it to define the focus of your work. Even if your team members have listened to all the same interviews, each of you may have your own perspective and remember different things or find different things remarkable.
Don’t just think about what was said, but also what they thought, felt and why. At times, this might feel like your own personal interpretations rather than direct quotes.
First, you will each have to share your observations and insights with the rest of the team. Then, make some sense out of these together, mapping out the information you have will help you with this task. The goal is to see patterns and identify pieces of information that shine more brightly than others.
At the end of this phase, you will have found a point within the challenge to focus on in your following work. This is called “Re-defining the challenge” and it is critical to your process because it results in a compelling and focused problem statement that you will use to brainstorm solutions for in the next step.
Remeber, don’t think about solutions yet. You are only defining the problem for now. So, if ideas do come up, park them until later. This phase requires you to narrow the scope and make hard decisions. So, don’t give up, stay motivated and trust in your team.
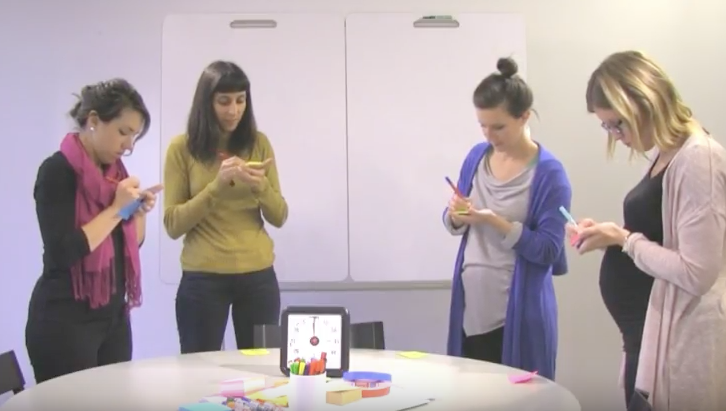
4. Silent Saturate & Cluster
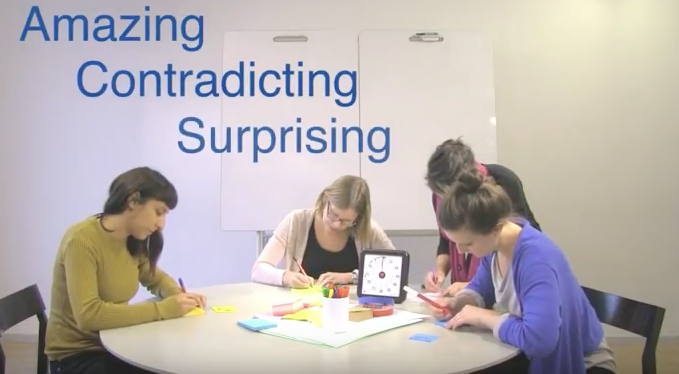
Now that you have completed your empathy research, you share your insights with your team as you work through this, remember to watch the time for each step.
First, individually and silently take a look at your notes out of all the information. Was there something amazing, contradicting or surprising?
Note the three to four most important compelling insights. Each one on a post-it you can write down impressive quotes too. Now share your notes with your team members one after the other.
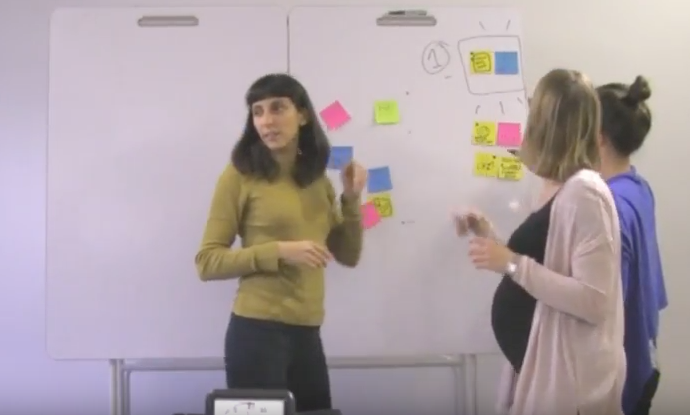
Mention each post-it when you stick it to the work board. Once you have all shared, try to group the post-its like you did earlier. Form clusters and name them.
As you group, you will notice common themes and some clusters may be bigger than others. Perhaps, one insight is shining through everything. As you group, decide on two to three post-it notes to carry with you
5. Problem Statement
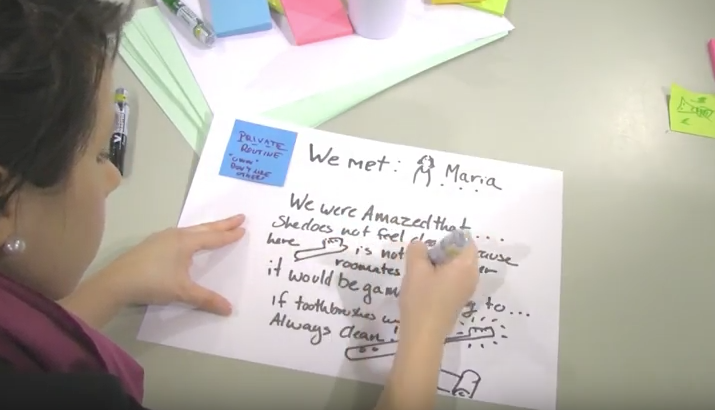
Now that you have decided for two to three insights, ask yourself, “what could they mean?”, “what are your interpretations of them?”. Pick one or two interesting points out of these that highlight a specific problem
- We met …
- We are amazed to realize …
- It would be game-changing to …
This sentence is your problem statement and will help you in the next step “ideation”. Idea generation will happen in the next step. So, don’t think about solutions yet. The aim of this step is to frame the problem in a way that will focus and inspire you as a team to create solutions. Watch your time, try to keep your discussion short and make decisions fast. You will find the example
6. Ideation
Congratulations! You made it! You have reframed the initial challenge! You have found a singular
- Defer judgment/ We clear you separate idea generation from idea evaluation. You will have time later to evaluate the ideas.
- Build on the ideas of others/ This means
use “yes” instead of “no but”. It helps you use others’ ideas to make something greater from it. - One conversation at a time
- Be visual
- Have fun
Now, let’s take a look at brainstorming methods.
7. Silent Brainstorming
You are going to do quiet brainstorming. Work individually and make sure you have post-its. Think about the problem that you are focusing on and your user needs.
Then, write down radical ideas about how to meet those needs. Remeber, go for quantity of ideas, be visual and leave judgments behind. When you are done with quiet brainstorming, take time to share your favorite ideas with the team.
Build on each other’s ideas by saying, “yes, and then, we can …”. Be sure you continue to write down all the ideas, use the dot boating method with your team members to select the top two to three ideas to test.
8. Navigate Brainstorming
Turn your challenge into a negative one. For example, the challenge can be changed to a negative one like “how can we get people to not brush their teeth? Write down as many solutions as possible for the negative challenge on post-it notes.
Next, turn your bad solutions around into something positive that targets your user’s problems and needs. See the example provided in the materials to help you use dot voting with your team members to select the top two to three ideas to test.
9. Testing & Feedback Grid
Now, you are going to test your idea to get feedback from your user. Take a feedback grid with you and find another person to interview. Show your ideas and use the grid to write down their feedback. What works? What can be improved new ideas? Remember the interview techniques from before. Here is a reminder. Encourage stories and ask why and follow-up questions. Don’t ask “yes” or “no” questions. Listen carefully but also look for nonverbal cues such as what they are dong with their hands and the facial expression. Pay attention to how the answers differ from what you might expect. Briefly review the feedback with your team members and use the dot voting method to select one idea to sketch in a prototype.
10. Prototyping
Prototypes help us understand what the user experiences with your idea. They are also good at making benefits or problems with our idea obvious. You can choose several ways to prototype your idea. One way is to sketch a scenario. Think of a situation when your user interacts with your idea. Sketch it out as a storyboard or a cartoon, a map or blueprint. Another way is to build. Use materials like paper and tape to create a rough prototype. You can build a product. You can also build up a scenario. You can even use each other to roleplay a scenario. Once you create your prototype, test it again with your interview and the feedback grid. Then, you can wrap up to pitch your idea for the day.
11. Pitching
Now, it’s time to present your solution in a pitch. A pitch is a concise presentation that summarizes the most important information about your idea to get others interested in it.
First, find a hook that catches attention. It might be a fact, an interesting question or a brief story that the listener can emotionally connect to.
Second, describe your problem and what might happen if the problem is not addressed. Also, consider issues with existing solutions.
Third, present your idea, the solution to the problem.
Fourth, describe the benefits of your solution compared to alternatives.
Finally, close your pitch by inviting your lister to help fund, support, grow or develop your idea.
Now that you know the pieces of the pitch. Use your problem statement, keep quotes or observations and your prototype as resources to build your concise pitch. Plan who will speak and what their actions will be while presenting. Will they use a prototype as a prop? You pitch should be under two minutes or you might not keep the attention of your listeners.
Practice, bring energy, a smile, a solid stance and a clear voice. Make eye contact and don’t make sounds like “um…” or “so…”. Be confident and excited to share your idea. Now, you are ready to present or record your pitch for the competition.
Sponsored Link


